Pontoon Pointers: How to Add a Power Bimini Top to Enhance Your Boating Experience

Are you looking to upgrade your boating experience and take it to the next level? Adding a power bimini top to your boat can truly be a game-changer, offering convenience, style, and enhanced functionality.
An autobimini power bimini top allows you to adjust your shade effortlessly with the push of a button. No more fumbling with manual tops or roasting in the sun. With autobimini, you can raise and lower your top while cruising on the lake, making your time on the water more relaxing and enjoyable.
Whether replacing an old manual bimini top or installing one for the first time, there are a few important factors to consider, such as compatibility with your boat, material durability, and ease of installation.
In this blog, we’ll walk you through the process step by step and discuss key considerations to ensure a smooth and successful upgrade that will transform your boating adventures.
Step 1: Research & Selection
To begin, it's important to research and select the right power bimini top for your boat. From different brands to unique models, the choices may seem endless. Consider the following factors when making your selection.
Compatibility
Ensure the power bimini top you choose is compatible with your boat's make, model, and size. Take note of dimensions, mounting points, and any unique design aspects.
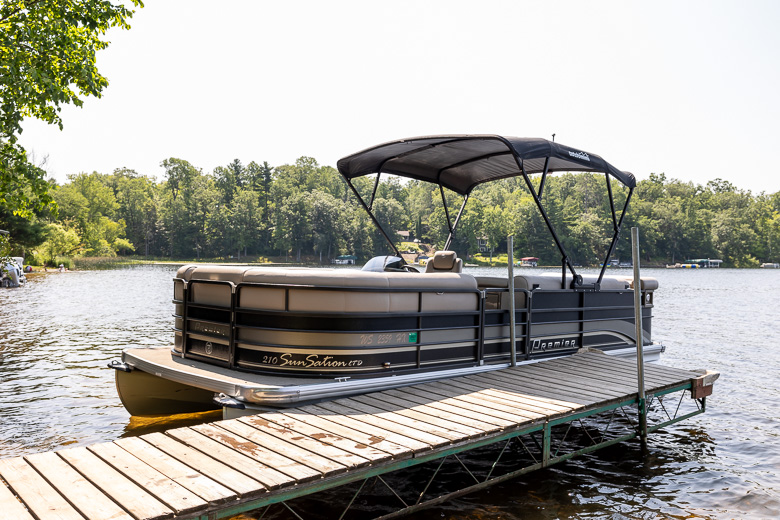
The autobimini Advantage: An autobimini can be added to almost any pontoon or deck boat due to its telescoping adjustable width framework feature. An autobimini will adjust and fit the width of pontoons anywhere between 92” to 102” wide.
The approximate installed dimensions are 10 feet long and 52 inches high in the full UP position from the surface of the playpen. The width is adjustable from 92” to 102”.
Mounting Points: Your pontoon must have 1.25” square aluminum tubing to mount autobimini. The heavy-duty electronic actuators weigh 10 lbs each and are designed to be supported with 1.25” square aluminum tubing. You should provide a full-length spacer if smaller aluminum tubing is used.
Playpens with a Step Profile: Some manufacturers, like Avalon, have a step profile playpen shape rather than the standard 1.25” square aluminum tubing.
If your pontoon has a step profile, autobimini or autobimini lite can still be mounted to the playpen, but there’s an extra step involved. There are two choices:
-
Reduce the step profile so the autobimini actuator can be mounted over the step profile. Methodical clamping can reduce the step profile.
-
Remove the step profile with the Dremel tool.
Features
Decide on the features you desire in a power bimini top, such as material quality, color options, durability, UV protection, and additional functionalities like lighting, app diagnostics, or different control features.
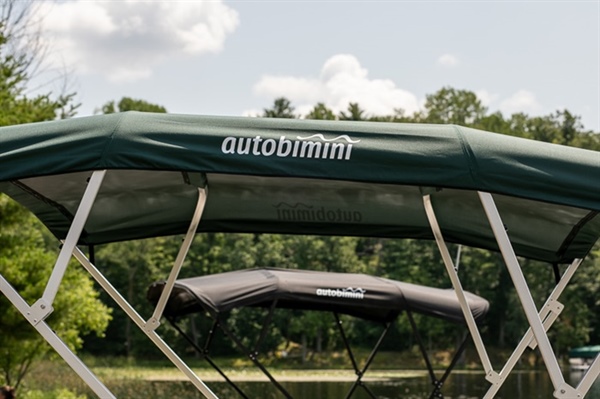
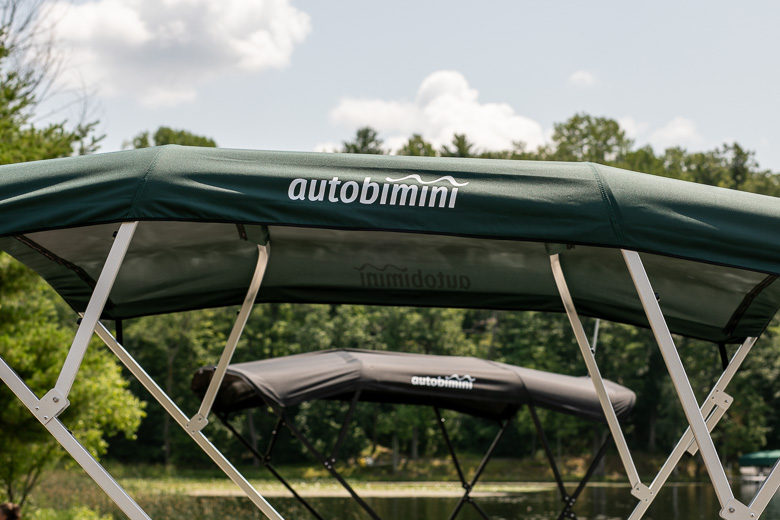
The autobimini Advantage: The marine-grade canvas of all autobimini products is second to none. Provided in seven colors, the material has the highest standard in UV protection at UFP 50+ and is a 600D solution-dyed fabric, making it water and abrasion-resistant.
Budget
Set a budget that aligns with your needs and preferences, as power bimini tops vary in price based on their features and quality.
An autobimini is comparable to the features of a competitor brand. Though the heavy-duty technology is often superior in quality, the price is more cost-effective.
Self-Installation or Dealer Installation: Another aspect to budget for is installation costs. If you plan to install autobimini yourself, the cost is all you pay.
However, when working with one of our exclusive autobimini dealers to perform the installation, you may have to pay an installation fee.

Step 2: Purchasing
Once you've made your selection, purchase the power bimini top from a reputable dealer or directly from us. When you order through us, you’ll receive your autobimini within 2 weeks or less. Any color or frame design option is available online.
When purchasing through a dealer, you may have a limited selection of colors or wait longer to receive the style you want for your pontoon.
Once you receive your autobimini or other power bimini top, ensure that it comes with all necessary components for installation, including frames, fabric, motor, and mounting hardware.
The autobimini Advantage: The autobimini ships with all parts and supplies in the box. You may need additional miscellaneous screws and wire ties depending on the exact installation, but all components will be there.
If you think anything is missing or need troubleshooting assistance during installation, don’t hesitate to contact the autobimini support team for help!
Step 3: Preparing for Installation
If you are performing the autobimini installation yourself, take a minute to organize and familiarize yourself with the process. Our team recommends that you have some mechanical and wiring experience due to some of the complicated elements in the installation.
Before diving into the installation process, there are a few key steps to take:
-
Read Instructions: Carefully review the manufacturer's instructions to familiarize yourself with the specific installation process for your power bimini top.
-
Gather Tools: Collect the necessary tools for the installation. For the autobimini installation, you will need drills, screwdrivers, wrenches, and measuring tape.
-
Inspect Components: Thoroughly inspect all the parts and components of your power bimini top to ensure nothing is missing or damaged. The autobimini team quickly assists if anything seems out of place or malfunctioning.

Step 4: Installation
Now it's time to install your power bimini top. Check out our autobimini user manuals for the full scope of the installation, but here are the main steps involved:
-
Mounting Points: Determine the appropriate mounting points on your boat, ensuring accurate positioning and, if necessary, drilling holes.
-
Assembling the Frame: Follow the instructions to assemble the frame, ensuring proper alignment and fit for your boat.
-
Installing the Motor and Wiring: Install the motor unit and route the wiring to the power source, following the manufacturer's guidelines.
Enjoy the Ride Even More With autobimini!
Upgrade your boating experience with the convenience and functionality of an autobimini! Say goodbye to manually adjusting your bimini top and embrace the ease of effortless control. With an autobimini, you can enjoy the perfect shade with just the push of a button.
If you aren't sure if you can install an autobimini on your specific pontoon or boat model, or if you need help troubleshooting any installation issues, don't worry! Our dedicated support team is here to assist you every step of the way.
From answering your questions about compatibility to troubleshooting any concerns, we're here to ensure a smooth and enjoyable autobimini experience. Contact us today and start enjoying the ride with your autobimini!